If you’re experiencing issues with the Starlink Wi-Fi coverage around your place, a Starlink Mesh Node can fix your problem.
A Starlink Mesh Node can help you extend the coverage of your Starlink Wi-Fi in your home or workplace.
If you use a single router in a place with many rooms or floors, you might struggle to get a strong signal across the board.
You may most likely only get quality reception near the room where you have your Starlink router.
To fix this problem, you can place several Starlink mesh nodes at specific places. This way, all the routers can connect wirelessly with your primary Starlink router and extend your internet access coverage.
How To Install A Starlink Mesh System
Starlink sells its mesh nodes for $130 as accessories at its official site. Here are a few quick steps to install and set up a Starlink Mesh networking System.

( A man touching an illustration of a connected globe)
Step 1: Find a Good Spot
The first step to installing a Starlink mesh system is picking a good spot to place it.
You should typically install your mesh nodes at a reasonable distance from the main router.
This is so that both routers can exchange signals fast and easily without dropping the signal strength.
Step 2: Pair the Mesh Node
After settling for a nice spot, plug your mesh node into an AC power source.
With your primary Starlink router already connected to your main Starlink Wi-Fi network, launch your Starlink mobile app.
Next, wait for about 30 seconds to receive a “Pair the mesh node” prompt notification.
This prompt will request that you pair a new mesh node, which you quickly accept.
If this prompt does not pop up upon opening your app, check your primary Wi-Fi connection.
You may have inadvertently connected your Starlink you the mesh node instead of your primary Starlink router.
Also, wait up to 30 seconds for the prompt to come up.
Step 3: Wait for the new Mesh Node To Connect
After successfully pairing the new mesh node with your Starlink router, you’ll need to wait until the connection is established.
It should typically take a few minutes to complete this connection.
The mesh node will appear in your Starlink app once the connection is completed.
The Network page of your Starlink app contains more details about the connection.
You should be able to find the number of mesh nodes connected on the network page.
In addition, you can also name each node in the network and unpair as many mesh nodes as possible.
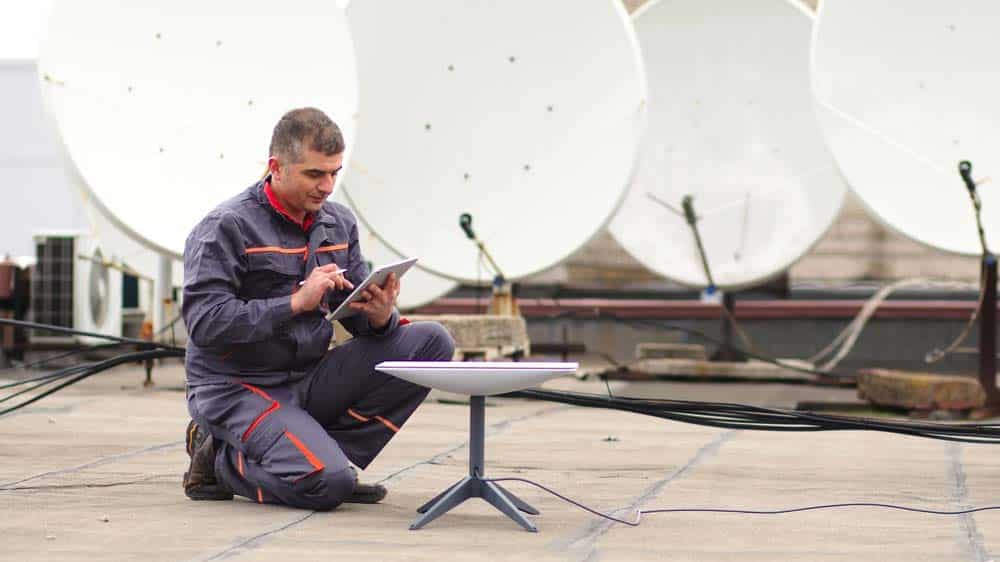
( A man installs a satellite dish)
Troubleshooting Steps For Starlink Mesh Node
While connecting your Starlink Mesh node to your Starlink Wi-Fi, you may encounter certain connectivity issues.
You may not pair your new mesh node and set up a successful connection to the primary Starlink network.
If you experience these issues while setting up your Starlink mesh node, you’ll need to troubleshoot to try and fix the issues.
Below are the most effective troubleshooting steps you can take to resolve issues with setting up your
Starlink mesh node.
( A Starlink dish is shown outdoors)
Perform A Power Cycle Test
Performing a power cycle test is usually the fastest way to resolve Starlink mesh node issues. It can help you factory reset your affected Starlink component to resolve any issues.
To do this, disconnect the Mesh mode’s power cable from its power source and wait at least 30 seconds before plugging it back.
You can now watch the node reboot and restart the pairing process. Look out for the status light indicator on the node to confirm that the node has successfully established a connection.
If the power cycle test is effective, you should be able to resolve the connectivity problem or any glitch that causes it to malfunction.

( A woman using her Laptop and smartphone to access the internet)
Check The Network
If the power cycle test fails to resolve the issues, you should check the network status on the app.
You could have wrongly connected to the Mesh node’s “STARLINK” network and not the primary network of your Starlink router.
This is probably why you can’t set up a meaningful connection.
If this is the case with you, you can remove the existing connection and re-establish a new one with the primary Starlink Wi-Fi network.
Look for cues that show the correct target connection, including the network’s name, so you don’t repeat the same mistake.
Existing Network issues may also cause your Mesh node to not function properly.
By checking the Network menu on the Starlink app, you can spot any prevailing network issues.
If you find any from the Live Updates shown on the Network page, you may only be able to wait it out.
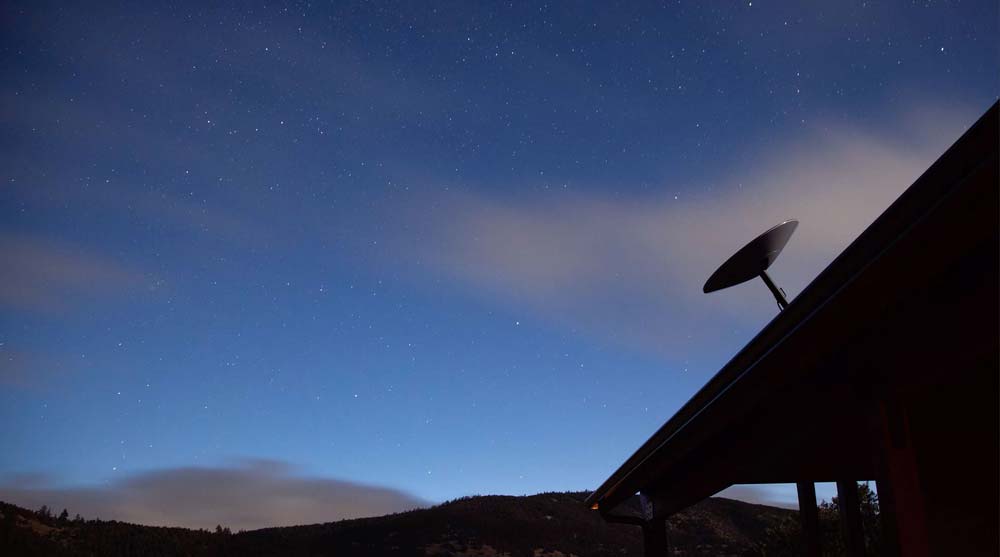
(A Satellite dish shown mounted on a roof)
Update The Starlink App
If you’re running your Starlink app on an outdated system firmware/software, you’ll be unable to complete the Mesh node setup process.
You would be unable to connect to the Starlink Wi-Fi network and connect the Mesh node due to software incompatibility.
To fix this problem, launch the Starlink app and check for any available latest updates.
For best results, download and install the app’s latest version and restart the mesh node and the primary Starlink router.
These series of actions should help to load these two devices with the latest networking firmware.

( A fleet of Starlink Satellites shown in orbit)
Conclusion
Your Starlink Mesh node helps to expand the coverage of your primary Wi-Fi network around your place.
It is a nice touch to places with many rooms or floors where a single router cannot service with internet.
Setting up a Starlink mesh node is a pretty straightforward task. But if you cannot successfully add your new Mesh node to the primary Wi-Fi network, troubleshooting might help.