If you plan to use the Starlink service, it is important to know the best way to mount a Starlink dish.
If you’re setting up a Starlink dish or already have one, ensuring proper mounting can enhance your internet experience. And If it isn’t set up right, you might have a weak signal, and your internet could keep stopping.
You may struggle with a poor network if objects block the connection of your dish to the Starlink satellite.
If your dish isn’t set up correctly, you’ll likely experience slower internet speeds and have difficulty enjoying the best internet service.
In this guide, you’ll learn not just how to mount your Starlink properly; we will provide a detailed explanation of the best way to mount a Starlink dish.
You will also learn about the challenges you may face when setting up your dish and solutions for overcoming problems you may face during the installation process.
The Best Place To Setup Your Dish: How and Where?
When you sign up for a Starlink membership and receive the setup kit, you will find it includes some vital accessories. Asides from the Starlink dish, these accessories include a Power over Ethernet (PoE) cable, dish mount, and router.
If you want a fast and temporary installation, the setup kit is a good choice.
But if you prefer a stable and long-lasting setup, you should consider a permanent option. You can set up the dish permanently in your house.
For example, you can use a cable extension to mount the dish on the walls or rooftops.
However, here are the correct steps you need to properly mount your Starlink dish:
Check The Surface For Mounting
The initial and most crucial step you need to know to achieve the best way to mount a Starlink dish is to select the ideal surface for installation.
You can place your dish on a flat surface, like an open field, or on elevated surfaces, such as rooftops and vertical walls.
Mounting the dish vertically provides strong support and stability for the mounted dish.
Avoid positioning your Starlink dish on uneven surfaces, as this can damage the dish and its mount.
If you install your dish over a flat surface like the ground, ensure the surface is level and free from obstructions like rocks, dense plants, and gravel, as these can damage your dish by creating an uneven surface.
When searching for elevated areas for your Starlink dish, you can go for spots like the edge of the roof, a sloped rooftop, or positioning it against a vertical wall.
It’s important to ensure that these locations are free from any obstructions or things that might get in the way of your dish, causing problems.
Look Out For Clear View Of The Sky
Once you’ve chosen the location for your dish, the next step is to examine the surroundings and ensure there are no obstructions.
These obstructions might interfere with your dish’s connection to the Starlink satellite.
Your Starlink dish needs a clear view of the sky, meaning it requires a 100-degree field of view (FOV) to function properly.
This is to make sure your dish can “see” the satellite without anything blocking its sight.
If something obstructs your dish’s line of sight, you may experience poor internet service.
If you place it on the ground, keep buildings far away from your dish’s line of sight.
And If you are placing it on an elevated surface, make sure there are no poles, antennas, or trees obstructing the view.
Also, leave some space under the dish for its motorized alignment. This will help everything work smoothly.

Starlink satellite fleet
Where To Point Your Starlink Dish
Once you’ve correctly positioned your dish and removed any obstacles, the next step is determining the best direction to point the Starlink dish.
Here’s a simple trick—If you live in the Northern Hemisphere, you should point the dish towards the North.
However, if you live in the Southern hemisphere, you should point the dish towards the South.
To do this, you should avoid manually adjusting the motors, as it can damage them easily.
Instead, use the Starlink app to scan the Field of View (FOV) to identify the right positioning.
This method is highly effective as it automatically avoids any potential obstacle interfering with your internet connection, ensuring a smoother and uninterrupted internet experience.
Keep in mind—your Starlink dish requires a clear view of the sky.
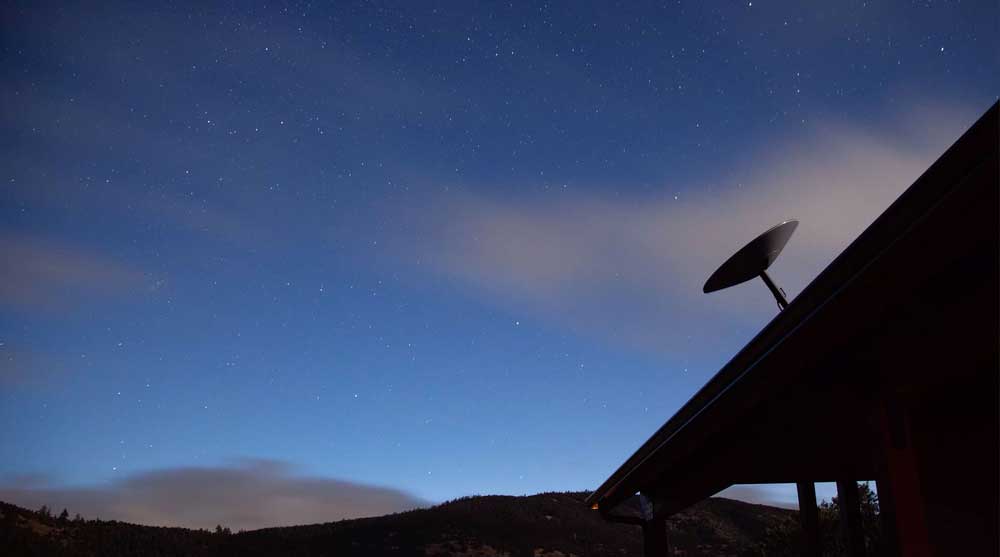
The best place is to install the dish on the roof, particularly on a chimney or the highest point of the roof, as these locations usually provide the best elevation and the least obstructions.
Types Of Mounts That Work With Starlink
Once you’ve picked the best spot through the Starlink app, your next move is to decide on the right mounting option.
You have many choices available, and your selection should align with the surface you intend to install it on.
Now, let’s explore the most prevalent mounting choices and the surfaces they suit best:
J-Mount
The J-Mount is an excellent and versatile choice when mounting your Starlink dish.
It is user-friendly and is suitable for various surfaces such as rooftops, exterior walls, and shingled roofs.
The J-Mount is typically compact, with dimensions ranging from 2 to 4 feet. Despite its advantages, the J-Mount is not suitable for obstructed locations.
Note that the J-Mount comes with a 1.5-inch-diameter pipe. To ensure a strong and stable connection, it’s advisable to consider using the Starlink pipe adapter designed for this purpose.
For example, an operational J-Mount suitable for your Starlink dish is the Winegard DS2000A.
Flashing Mount
If you prefer a neat and strong roof setup, consider purchasing a Flashing Mount.
One of the significant benefits of the Flashing Mount is its professional appearance.
During installation, it’s important to secure the mount under the roof shingles.
It works well on roofs in regions with high rainfall or snow.
However, if your roof doesn’t have a shingle, the Flashing Mount isn’t the right option.
Additionally, it could also be complex to install and relatively more expensive.
Non-Penetrating Roof Mounts
If you don’t want to drill holes in your roof, you might find the Non-Penetrating Roof Mount, also known as a Ridgeline mount, a great choice.
Instead of being nailed down to the roof, it’s held down by heavy things like sandbags and concrete.
The most interesting thing about this mount is that it’s adjustable and works great on flat surfaces.
The mount offers flexibility without permanently sticking to the roof.
It’s perfect for flat roofs if you don’t want to drill into your roof. But, because it isn’t fastened to the roof, the mount might experience troubles, especially during stormy weather.
Starlink internet antenna
Tower Mount
Some obstacles can prevent you from mounting your dish on your roof or an external wall.
When you struggle to mount your dish to your rooftop, consider using a Tower Mount.
A tower mount is the ideal option if you want your Starlink dish far away from your home to avoid obstacles.
It can elevate your dish beyond visible obstacles to secure unrestricted satellite connection.
However, this is a more complex and expensive option, as it involves custom installation potential modifications to accommodate the Starlink dish.
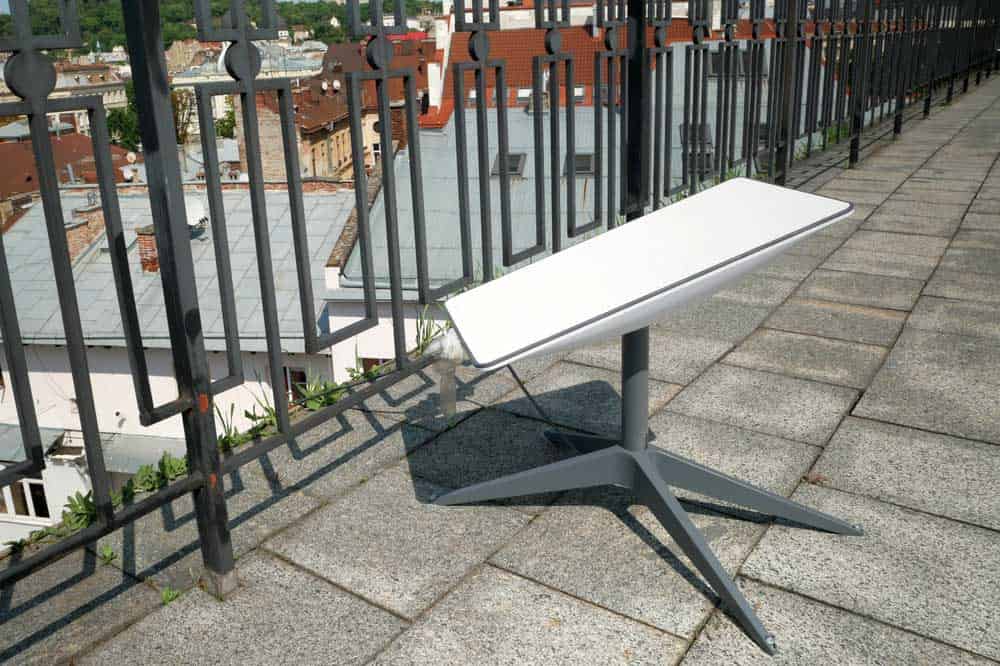
Pole Mount
If you have a clear line of view without multiple obstacles, the Pole Mount is a good amount to go for. This mount type doesn’t require rooftops, external walls, or open fields.
Starlink accessory kit includes a Pole Mount, but you also have the option to acquire one from the Starlink shop, either online or in-store.
The recommended measurement for buying a Pole Mount is approximately 1.5 to 2 inches in width.
Setting up the pole involves groundwork, like burying it and ensuring the Starlink dish is correctly aligned.
Starlink pointed at the sky.
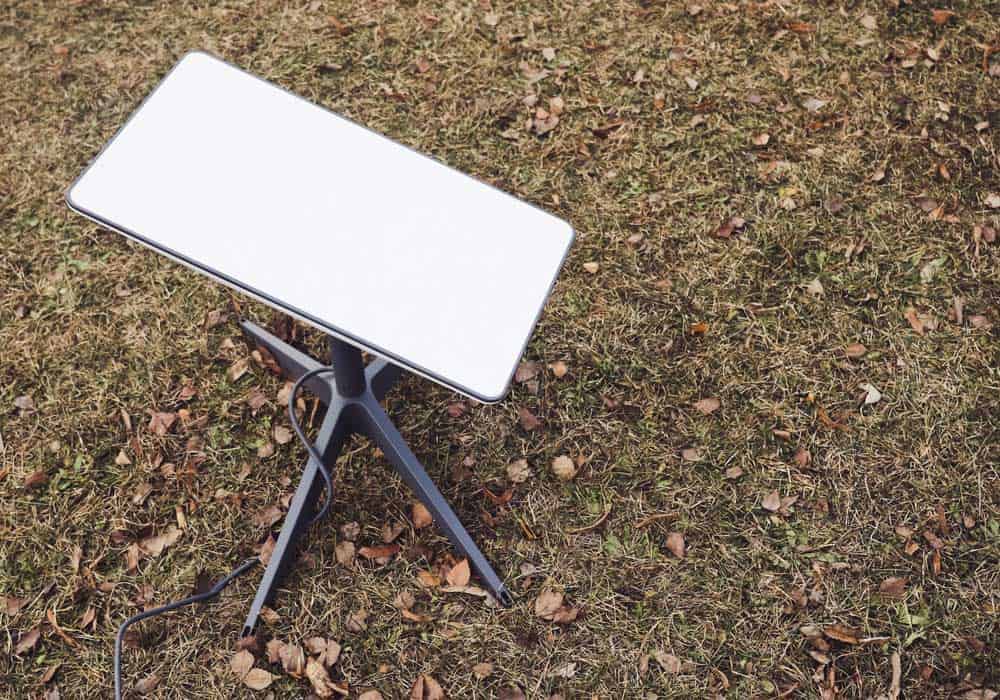
Tripod Mount
A Tripod Mount is the right choice when you need to place your dish on flat surfaces, whether a temporary setup or a permanent one.
If you are thinking about setting up your dish in an open field or your driveway, the Tripod Mount could be the right solution for you.
You can easily stake on the ground or a flat rooftop for stability.
The only drawback is that it needs a bit more room than some other mounts. Plus, on windy days, if you don’t secure it well, it might tip over.
Chimney Mount
As the name implies, a Chimney Mount raises your Starlink dish higher above your roof by using your chimney.
Sometimes, mounting your Starlink dish the usual way can be challenging and intricate.
In such instances, a Chimney Mount might be the most suitable choice. Remember that the installation process could differ depending on your specific setup.
Chimney Mount kits usually include a 12-foot steel strap, U-bolts, and necessary hardware.
The Starlink Base (Base Mount)
The Base Mount comes with your Starlink kit; it works well for ground-level installations, flat roofs, and temporary setups when checking for a signal.
However, it is not entirely effective on flat surfaces and for permanent solutions due to its size.
If you require a different mounting option, you have various choices.
You can explore options like the Starlink Pivot Mount, designed for shingled roofs, or Ladder Mounts, primarily intended for temporary or permanent installations on RVs.
Starlink internet on a roof
Why Different Mounting Options Are Important
It would be best if you chose the right mounting option for a smooth internet experience using the Starlink dish.
As stated, the first thing for you to do is to establish a seamless connection to the Starlink constellation by obtaining a clear view of the sky.
Your choice of installation location will determine the dish’s angle and height.
Having various mounting options at your disposal plays a vital role and provides you with several advantages.
The ideal choice should grant flexibility and ensure you can achieve the clearest views of the sky, thus optimizing your internet connectivity.
Conclusion
To successfully install your dish, consider the best position for your dish to point to the sky without any hindrances.
The correct way involves considering options like rooftops or chimneys to determine the ideal angle and height for the most.