If you’re thinking about signing up for Starlink, you may also be thinking about the best way to mount a Starlink dish as well.
Failing to mount your internet starlink dish correctly can lead to suboptimal signal reception performance, slower internet speeds, constant interruptions, and, overall, a terrible internet experience.
Failing to mount your dish correctly may also expose the dish to interference from obstacles like trees, buildings, and other things that might prevent it from establishing a connection to the Starlink constellation.
Whether you’re a prospective or current Starlink user, adopting the most efficient mounting strategy is crucial for maximizing your internet experience.
It may interest you that the best way to mount your Starlink dish involves identifying the ideal location, securing it properly, and ensuring everything works perfectly.
In this article, we’ll walk you through mounting your dish the right way while addressing the importance and potential obstacles you might encounter.
By the end, you’ll also clearly understand the best practices to employ in mounting your Starlink internet dish.
Optimal Starlink Placement: How And Where?
When you receive your Starlink membership service, and your setup kit has been delivered, it typically comes with a few necessary accessories.
These accessories include the DIsh, PoE cables, routers, and other important mounting equipment.
If you’re looking to install it quickly and for a short period, the equipment that comes with the setup kit is perfect for you.
However, if you want something much more stable and durable, you should consider permanent mounting solutions.
A cable extension would also go a long way in helping you install the dish on remote parts of your house, like the walls, roofs, and eaves.
Now, let’s break down the crucial aspect of optimal starlink placement:
Check The Surface For Mounting
Choosing the right surface to place your dish is the first and, perhaps, most important step.
It would be best if yFor stability, you opted for even ground or elevated surfaces like roofs or vertical walls.
Placing your Starlink dish on an uneven surface, like a gravel swathe, could damage both the mount and the dish.
If you place it on the ground, ensure it is level and free of obstacles like stone, heavy vegetation, and gravel.
Any one of those things could make the surface uneven and, thus, ruin your dish.
For elevated surfaces, your best choices are the eaves of your roof, your roof, slanting rooftops, or against a vertical wall.
Whichever it is, make sure they are free from other obstructions.
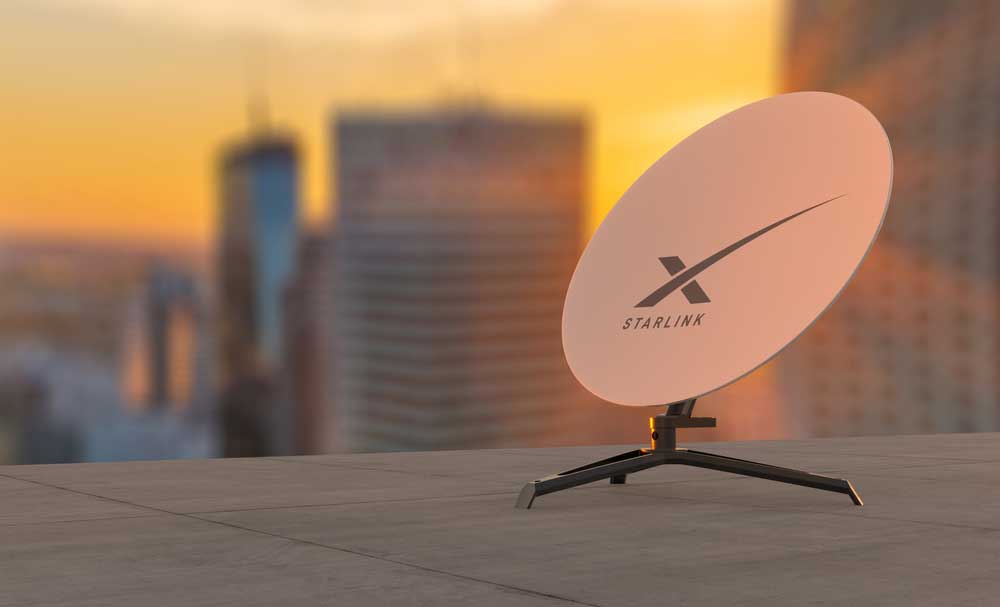
Starlink satellite dish
Survey For Obstructions
Once you’ve carefully decided on which surface to place the dish, the next step is to check the surroundings for obstructions that could hamper its connection to the Starlink constellation.
The best practice is to ensure a clear line of sight to the sky because the Starlink dish requires a 100-degree unobstructed field of View (FOV) to function at optimal conditions.
That is to ensure your dish maintains a line of sight to the satellites. If your dish doesn’t meet this requirement, your internet experience will be suboptimal.
For ground mounts, avoid nearby structures, while elevated mounts should steer clear of poles, antennas, and trees.
Finally, please leave a little space below the dish for its motorized alignment.
Where To Point The Starlink Dish
After placing it on a chosen surface and clearing all obstructions, you should determine the best position to point it at.
So, here’s a golden rule: in the Northern Hemisphere, point it North, and in the Southern Hemisphere, point it south.
You should also avoid manually adjusting the motors as it can damage them easily.
You can also use the Starlink app to scan the field of view (FOV) and obtain optimal directions and potential obstacles that could impede your connectivity.
Remember, Starlink requires an unobstructed view of the sky. For optimal position, mount the dish on the roof, preferably on top of a chimney or roof peak, since those tend to be the highest points available.
Types of Mounts That Work With Starlink
Once you’ve selected an ideal location free from obstructions using either the Starlink app or your senses, the next step is selecting the right mount for the permanent mounting of your dish.
There are several mounting options, and whichever you choose should depend on the type of surface you want to place it on.
Here’s a breakdown of the most common mount options and what surfaces they’re best for:
J-Mount
The J-Mount is one of the best and most versatile options for your Starlink dish.
Affordable and versatile, it’s widely available and compatible with many surfaces like fascia/eaves, roofs, exterior walls, shingled roofs, etc.
Despite its flexibility and due to its small size of 2-4 feet, it may not be suitable for areas with lots of obstructions.
Ensure your J-Mount has a pipe diameter of about 1.5 inches for Starlink use, and consider accessories like the Starlink Pipe Adapter for a seamless connection.
An example of a J-Mount that works well with Starlink is the Winegard DS2000A.
Flashing Mount
For a sleek and secure roof installation, consider getting a Flashing Mount.
The Flashing Mount has a professional appearance and is usually installed underneath the shingles and fastened to your roof structure.
It is best suited for rooftops and high rain/snow locations.
While it offers a clean and professional look, it might not be suitable for roofs without shingles. It could also be complex to install and relatively more expensive.
Non-Penetrating Roof Mounts
The non-penetrating roof mount, also known as ridgeline mount, is ideal for those opposed to drilling into their roof structure.
Rather than being fastened to the roof like the flashing or J mount, this option is held by weights like sandbags, concrete, etc.
The most interesting thing about this option is that it’s very adjustable and works well on flat surfaces, providing flexibility without permanently fastening the roof.
It’s great for flat roofs when you don’t want to penetrate your roof structure. However, due to the weights used to anchor it down, it might pose wind-related challenges.
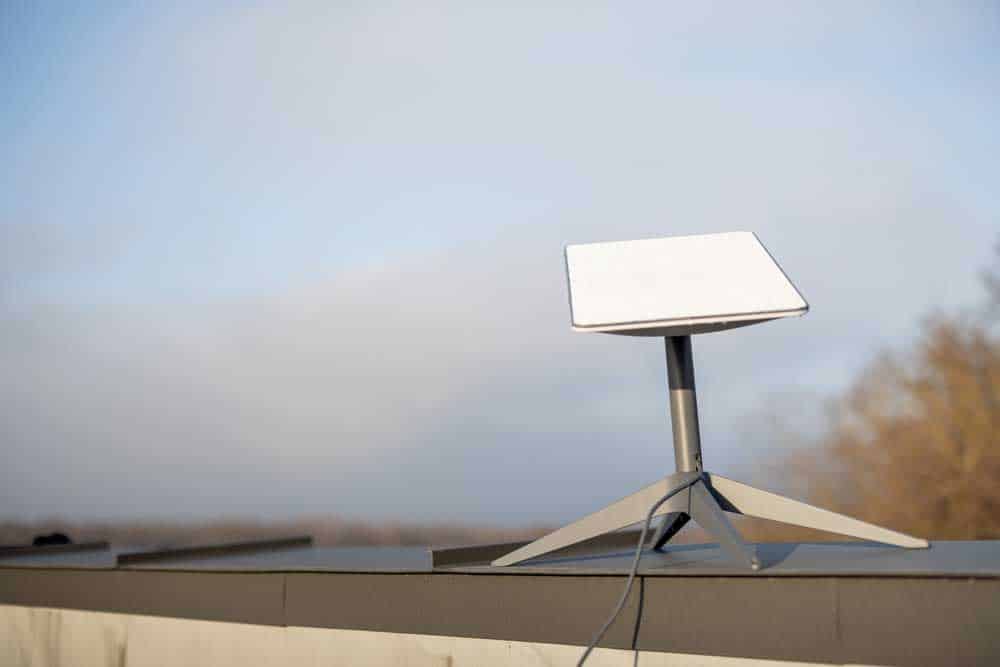
Starlink satellite dish internet
Tower Mount
In situations where you can’t mount on your roof or walls and are far away from your home due to obstacles, Tower Mounts are the perfect fit.
They offer a method for you to get your starlink as high as possible and far away from any potential obstacles to its connections.
However, this is a more complex and expensive option because it involves custom installation potential modifications to accommodate the Starlink mast.
Pole Mount
If you have an open area without many obstacles but don’t particularly need to keep the dish away from your home, the pole mount is a perfect fit.
You should also consider it if you don’t want to mount the dish on your roof.
To set it up, you can use Starlink’s pole, which you can get directly from their shop, or get your custom pole with a diameter of about 1.5 to 2 inches to erect it on.
Remember that the poles require more groundwork, including burying the pole and properly rotating the Starlink dish.
Tripod Mount
A tripod mount provides flexibility for temporary and permanent installations on flat surfaces. You can stake it on the ground for stability or secure it on a flat roof.
Its only disadvantage is that it takes up more space than usual and poses a tipping risk in windy conditions if not properly anchored.
Chimney Mount
A chimney mount utilizes your existing chimney when you need extra height beyond your roof peak.
It’s best for scenarios where traditional installations might be challenging, but the complexity of installations varies on installation.
Chimney mount kits typically comprise 12-foot steel straps, U-bolts, and other important hardware.
The Starlink Base (Base Mount)
The Base Mount comes with your Starlink kit and is best for ground-level installations, flat roofs, and temporary setups while testing for a signal.
Its small size, while optimizing for portability, prevents it from being useful on flat surfaces and permanent solutions.
Additional Starlink Mounting Options
Sometimes, you might require mounting options different from the ones above. If that is your situation, there are still many options you can consider.
Some options you can explore include Starlink Pivot Mount, designed for Shingled roofs, and Ladder mounts, primarily built for temporary or permanent installations on RVs.
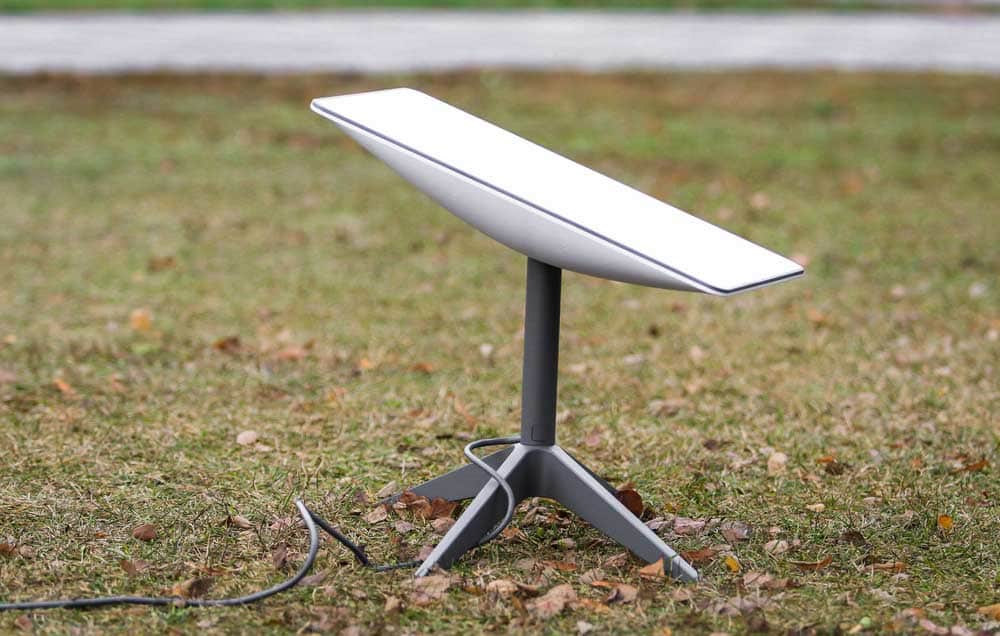
Starlink internet antenna
Why Different Mounting Options Are Important
The right mounting option for your Starlink dish is crucial for a seamless internet experience.
You need an unobstructed view of the sky to establish a seamless connection to the Starlink constellation.
Where you decide to install your dish – be it on the roof, chimney, high wall, or alternate structures – determines the angle and height of the mast.
Thus, the availability of various mounting options becomes important for adapting to various circumstances.
The options offer flexibility and ensure you can achieve the clearest views of the sky, optimizing your internet connectivity.
Conclusion
In ensuring a successful installation of your dish, it’s important to consider the best position for your dish to point to the sky without any hindrances.
The correct way involves accessing various options like rooftops, chimneys, or high walls to determine the ideal angle and height for the mast.
These options help adapt to different environments.